
What "White-Glove Installation" Actually Means
Every DentaSource chair is delivered and installed by our own technicians — trained hands-on by ROSON's engineers, following the same official procedure shown below. No subcontractors, no guesswork. This guide walks you through the whole process, step by step, so you know exactly what happens between the crate arriving and your first patient sitting down.
One thing happens before any of this: the free ocular visit. We measure your operatory, check plumbing and electrical, and — for tight clinics — plan the slim-down (armrest and side box come off in three steps so the unit passes through narrow doors).
Prefer to watch? The full official procedure is right here:
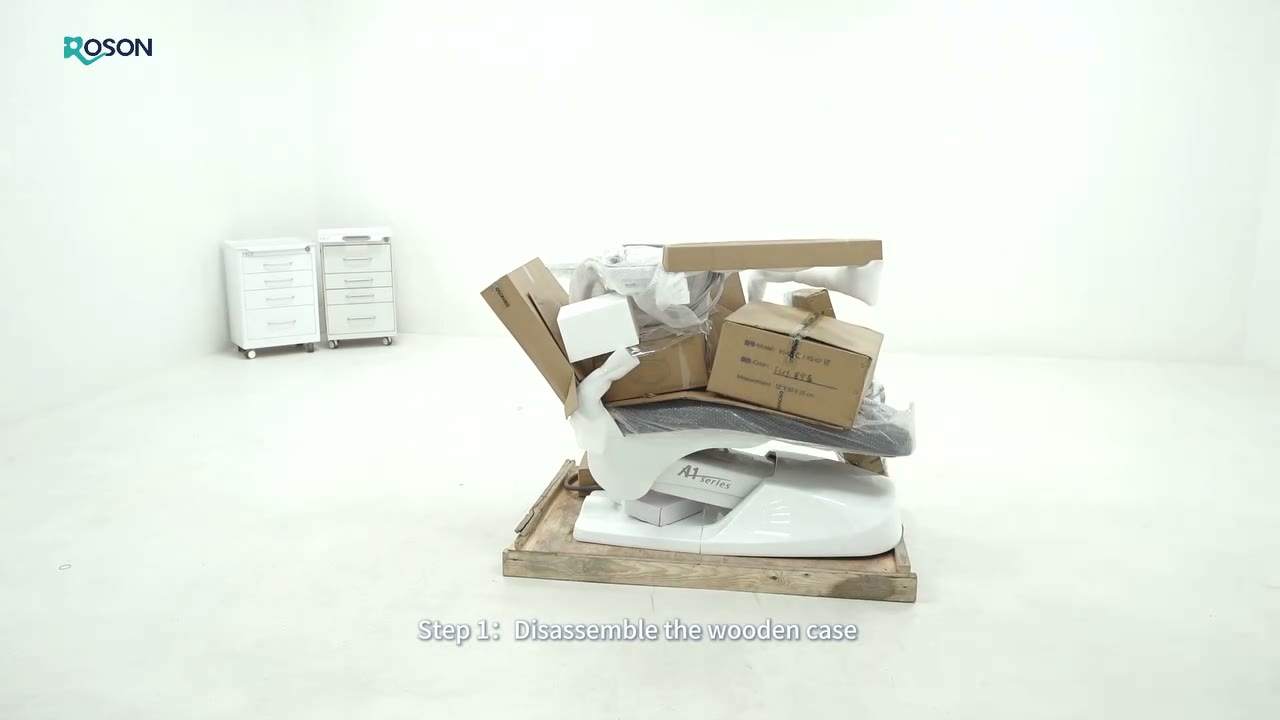
Step 1 — Uncrate
The chair travels in a wooden crate, bolted to its base board. We disassemble the crate and clear the packaging — carefully, because every panel around it protects a surface your patients will touch.
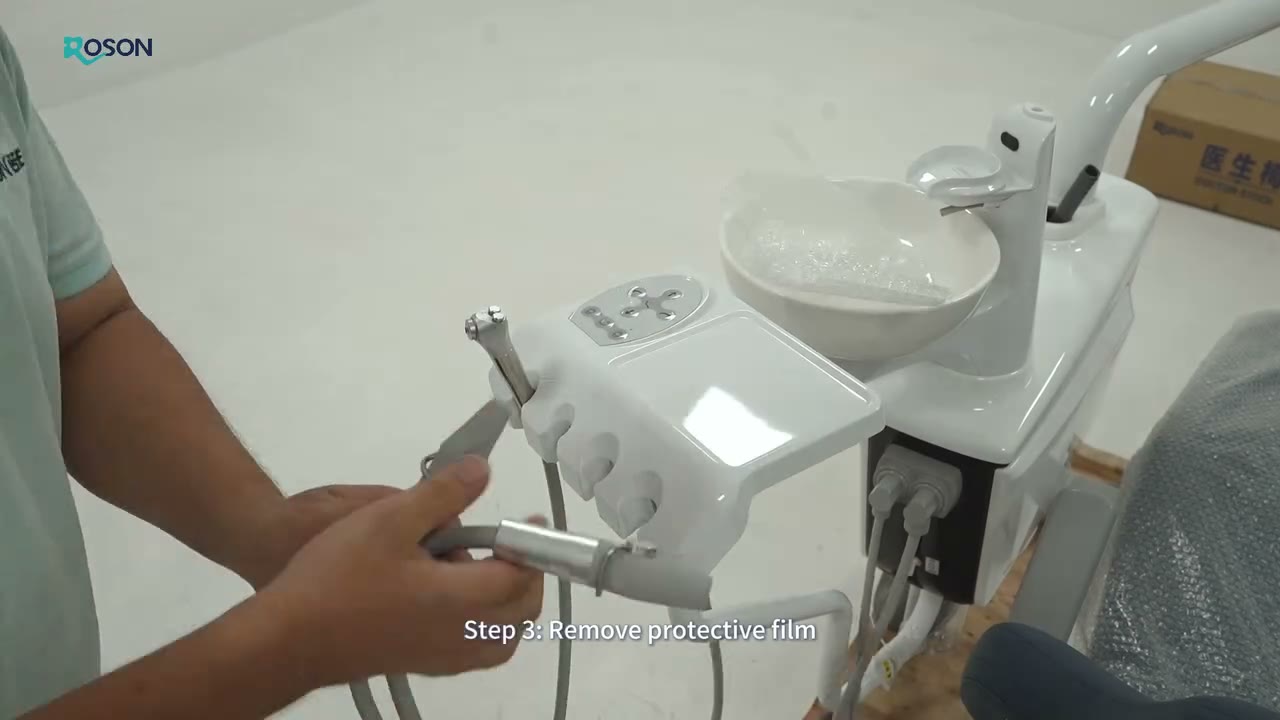
Step 2 — Unwrap and Inspect Every Component
Ceramic spittoon, cushions, handpiece tubing, the light head — each part is unwrapped, checked against the packing list, and inspected before anything is mounted. Damage caught here is solved here.
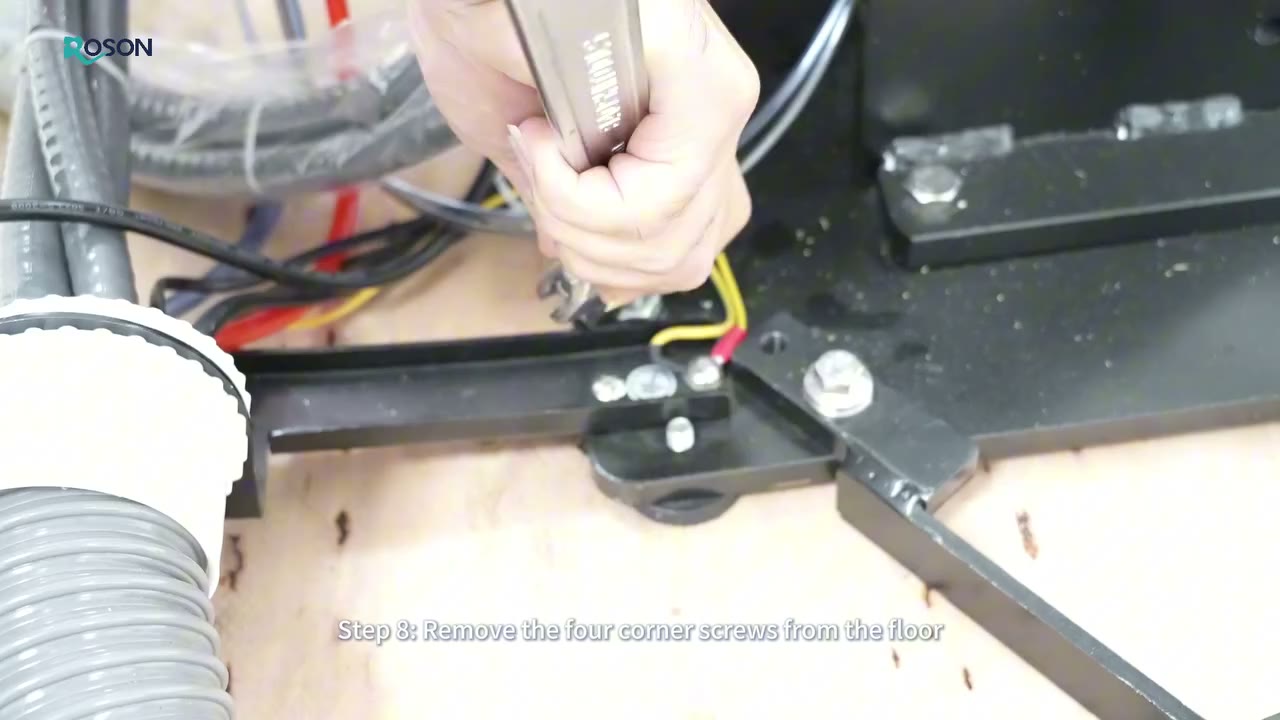
Step 3 — Release the Transport Fixings
The chair ships locked to its base by corner screws that keep the hydraulics safe in transit. They come out before positioning — miss one and the unit can never sit level.
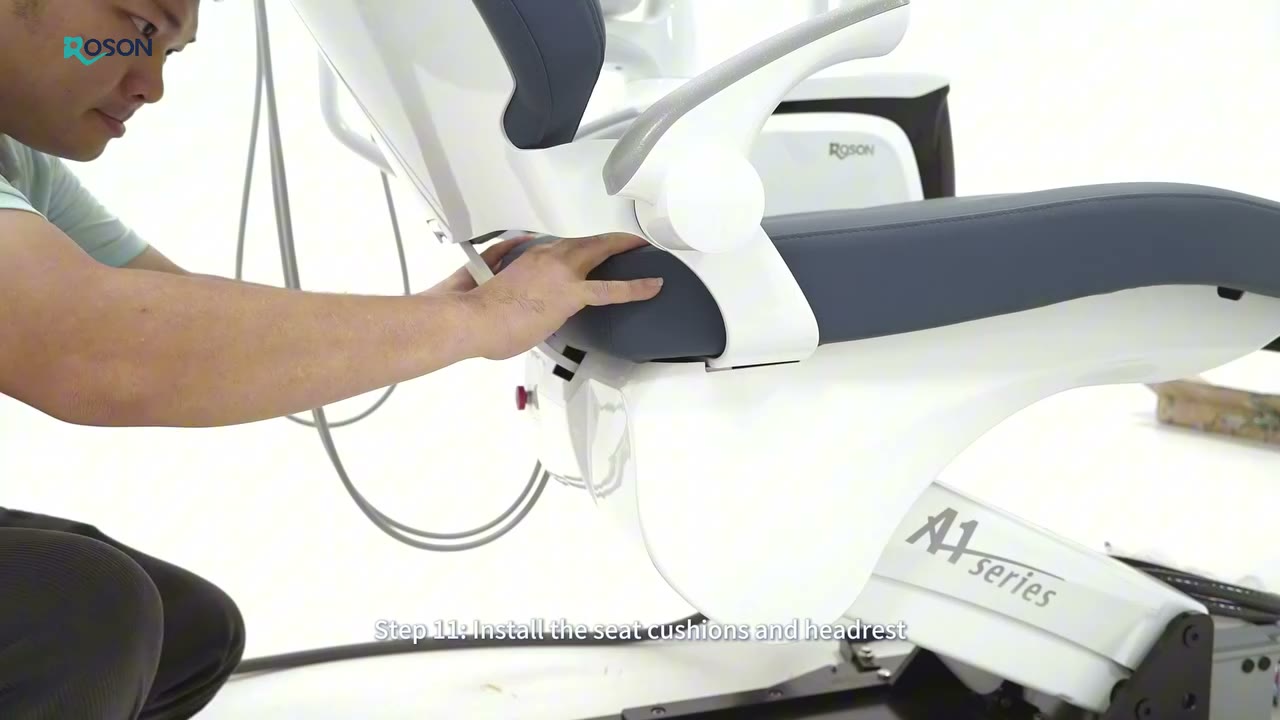
Step 4 — Mount the Backrest and Cushions
The backrest frame slots in, then the upholstery: backrest cushion, seat cushion, headrest. This is when the machine starts looking like a chair.
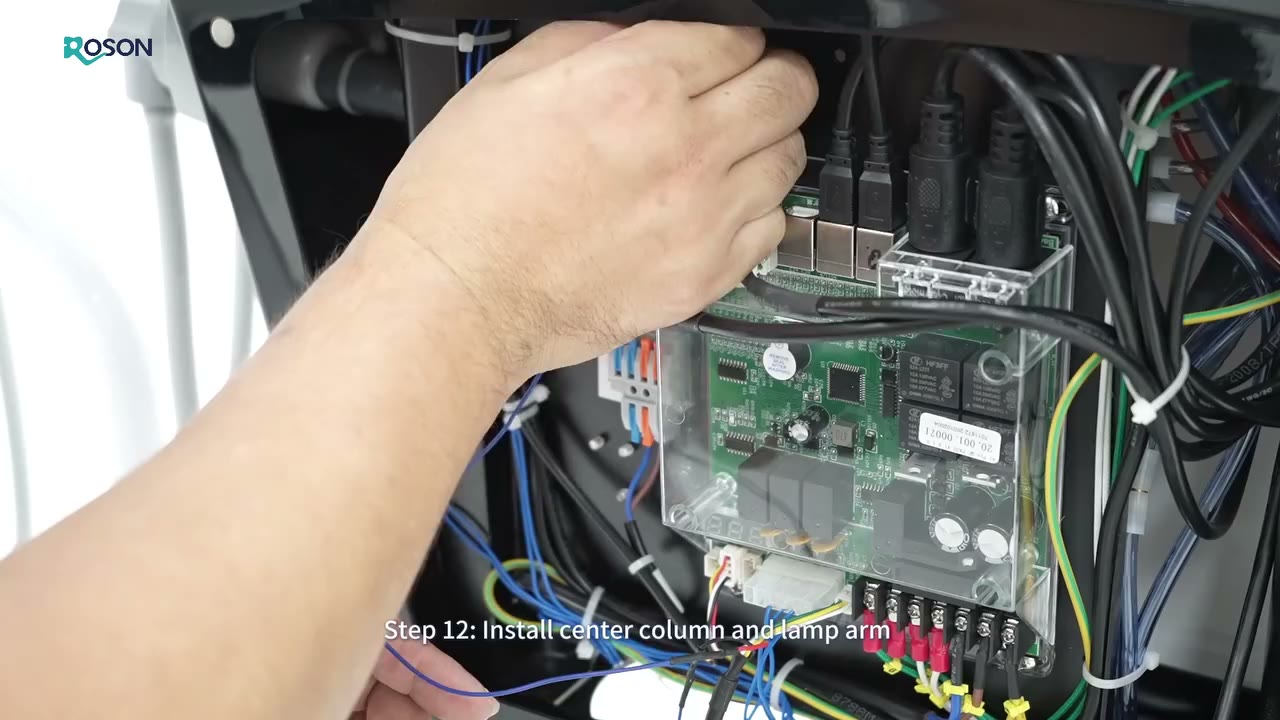
Step 5 — Wire the Control System
Inside the column, the control board is connected: motor lines, the touch panel, the light circuit. Every connector on a ROSON unit is keyed and labeled — one of the reasons our service calls are fast.
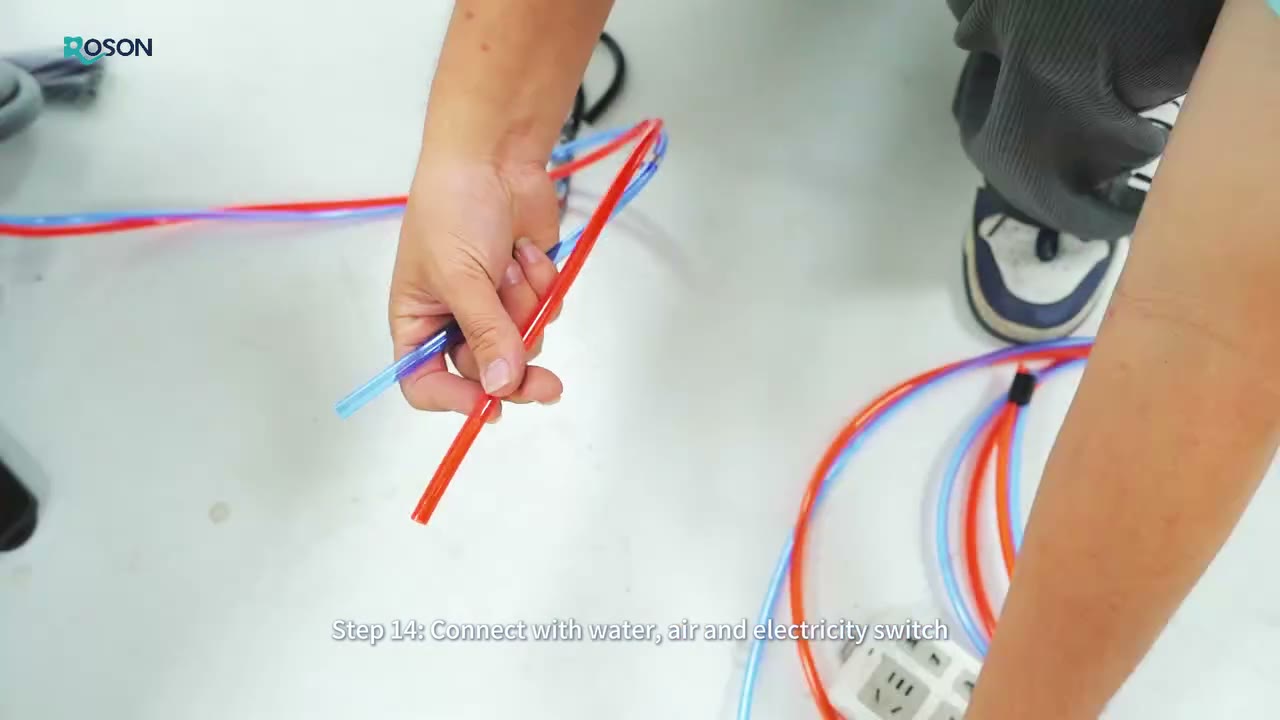
Step 6 — Connect Water, Air, and Drainage
The lines are color-coded — water, air, suction, drain — so the plumbing connects cleanly to the clinic's utilities. This is also where the golden rule of dental units applies: the air line connects before the chair is ever powered, because the system interlocks air and electricity by design.
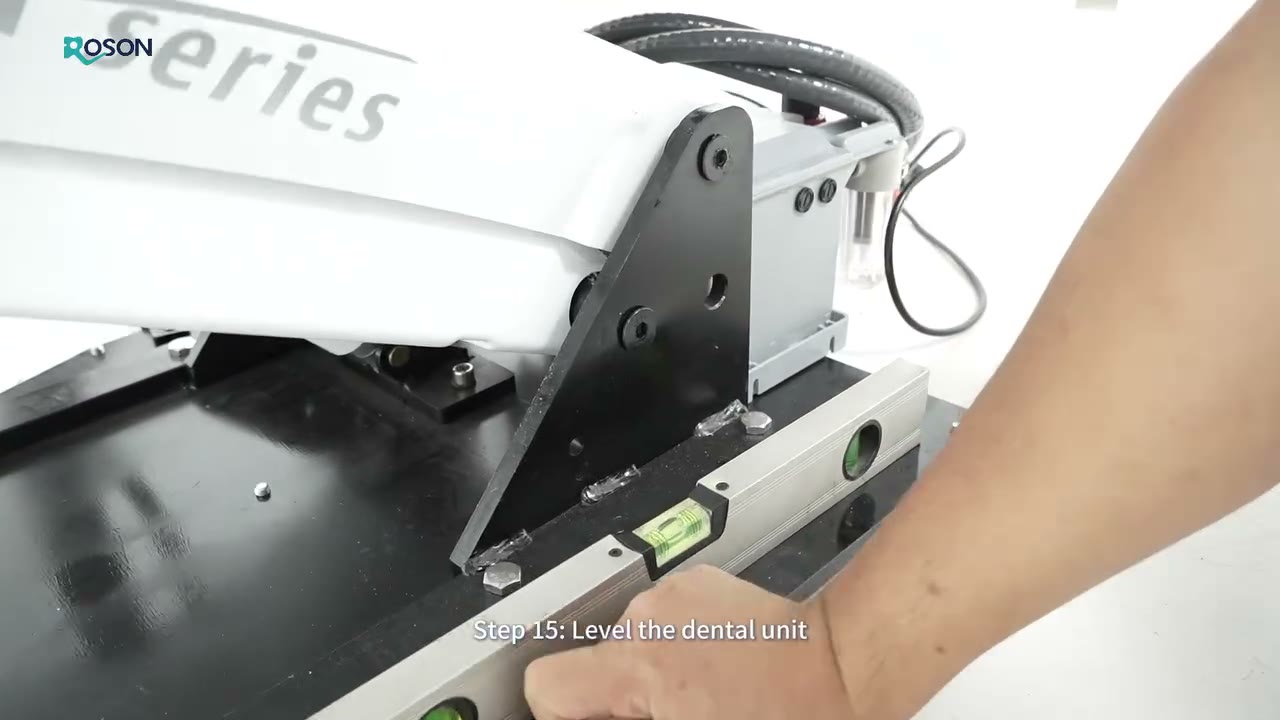
Step 7 — Level the Unit
A spirit level goes on the base and the unit is shimmed until it sits perfectly flat. A level chair tracks straight, holds positions precisely, and never walks across the floor.
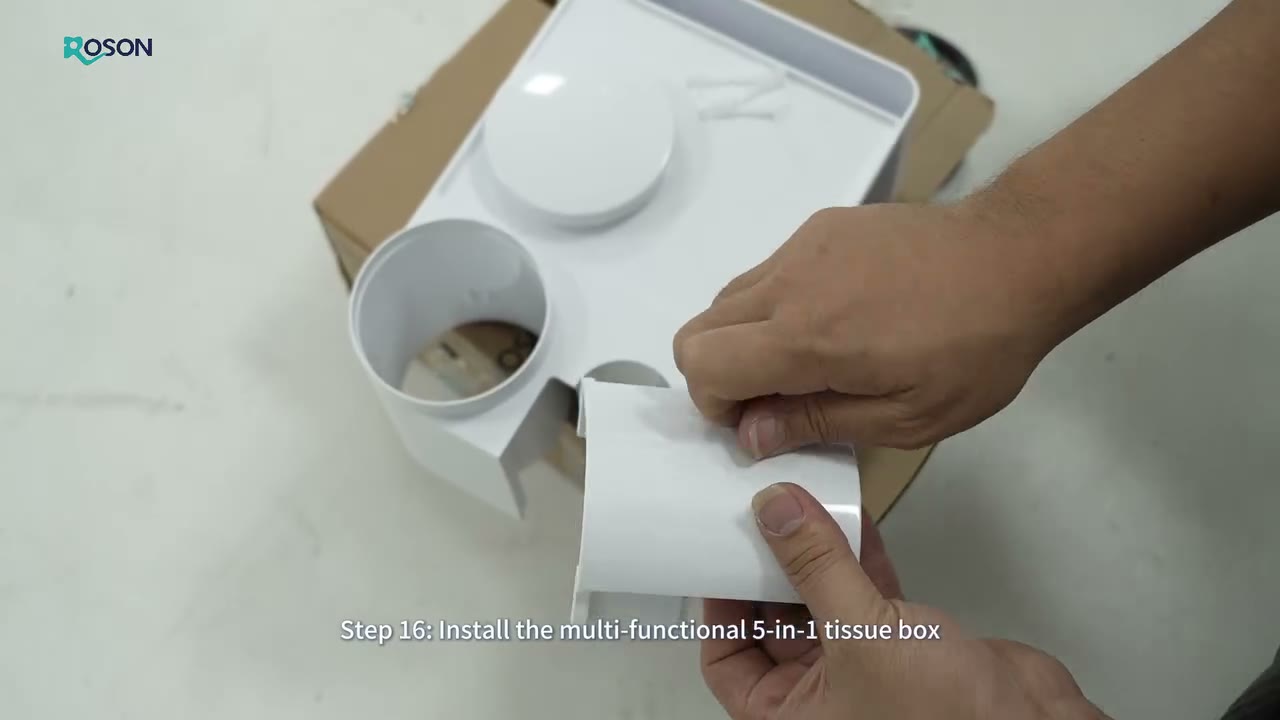
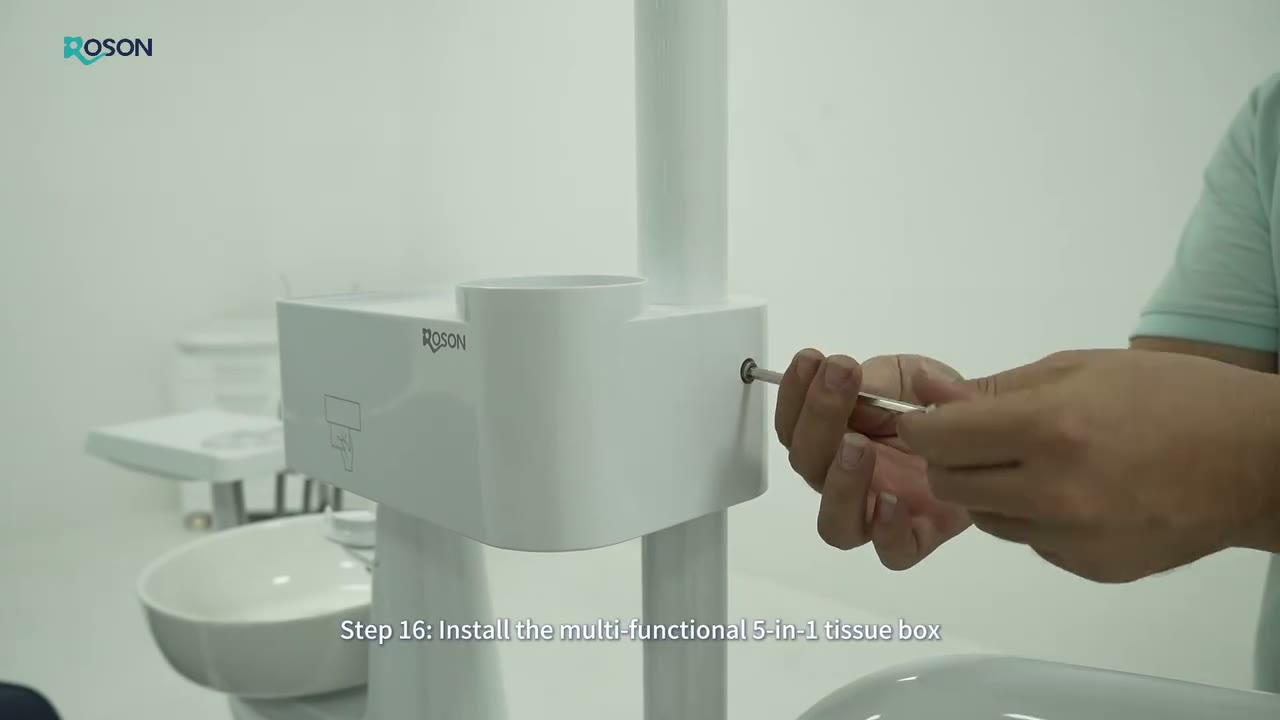
Step 8 — Assemble the 3-in-1 Syringe and Tissue Box
The multi-functional 3-in-1 assembly (water, air, spray) is built up and seated, along with the tissue box unit.
Step 9 — Mount the Doctor's Unit
The instrument tray and doctor's unit go onto the pole, positioned for the dentist's working style — we ask, not assume, which side and height you prefer.
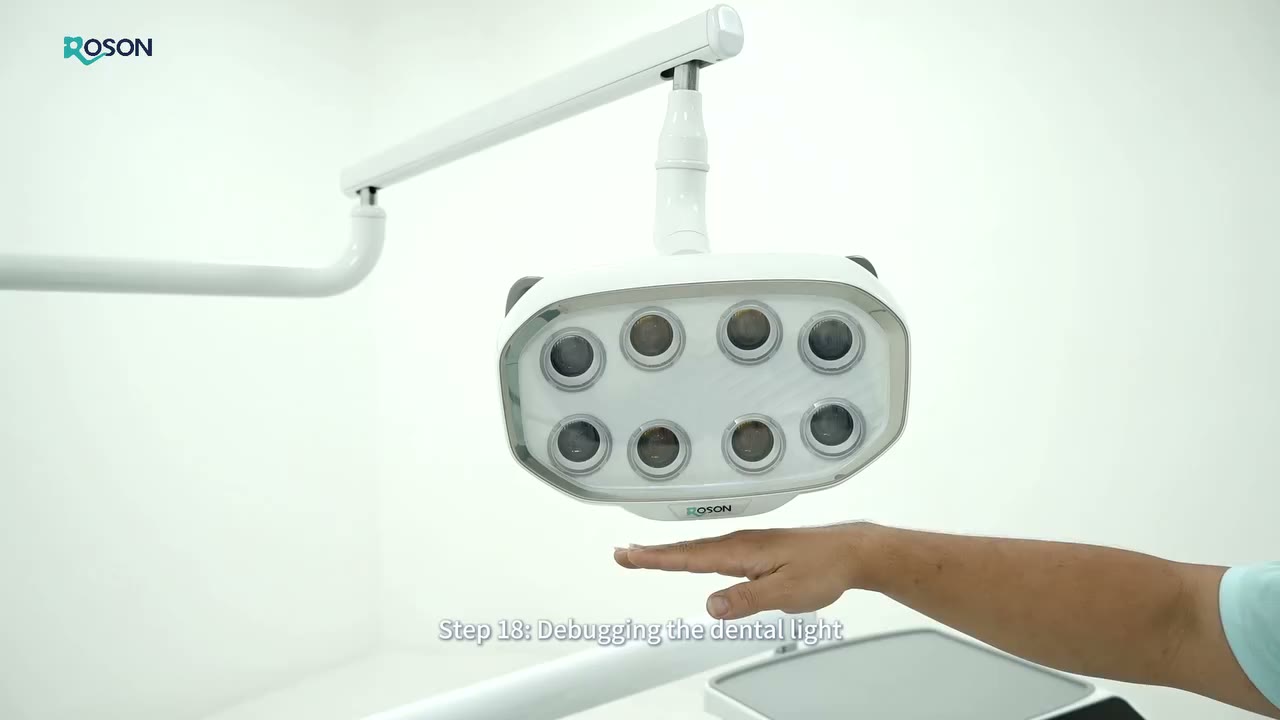
Step 10 — Install and Debug the Dental Light
The light head is mounted, aligned, and cycled through its modes — yellow, white, mixed — with the no-touch sensor tested.
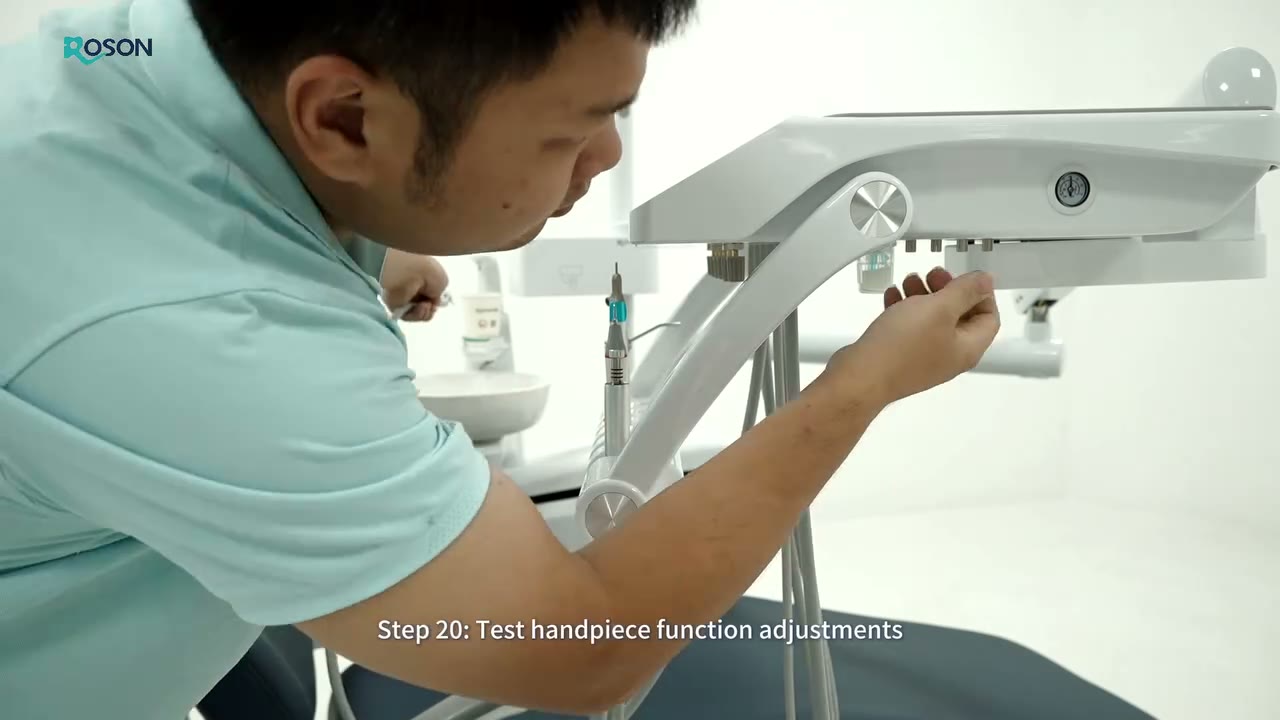
Step 11 — Test Every Handpiece Function
Each handpiece position is tested over the bowl: spray pattern, water flow, air pressure, suction. Adjustments happen now, on our time — not later, on yours.
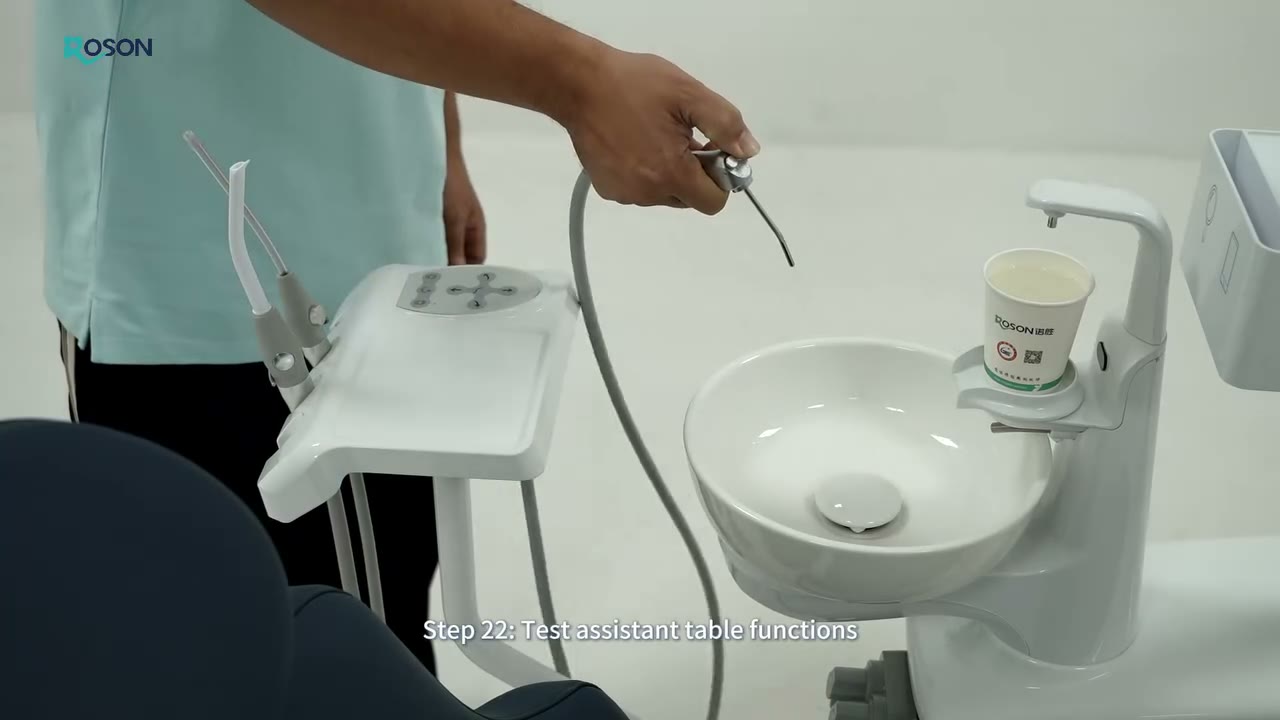
Step 12 — Test the Patient Systems
Cup filler, spittoon flush, chair positions, memory presets — every function a patient will experience gets run, timed, and confirmed.
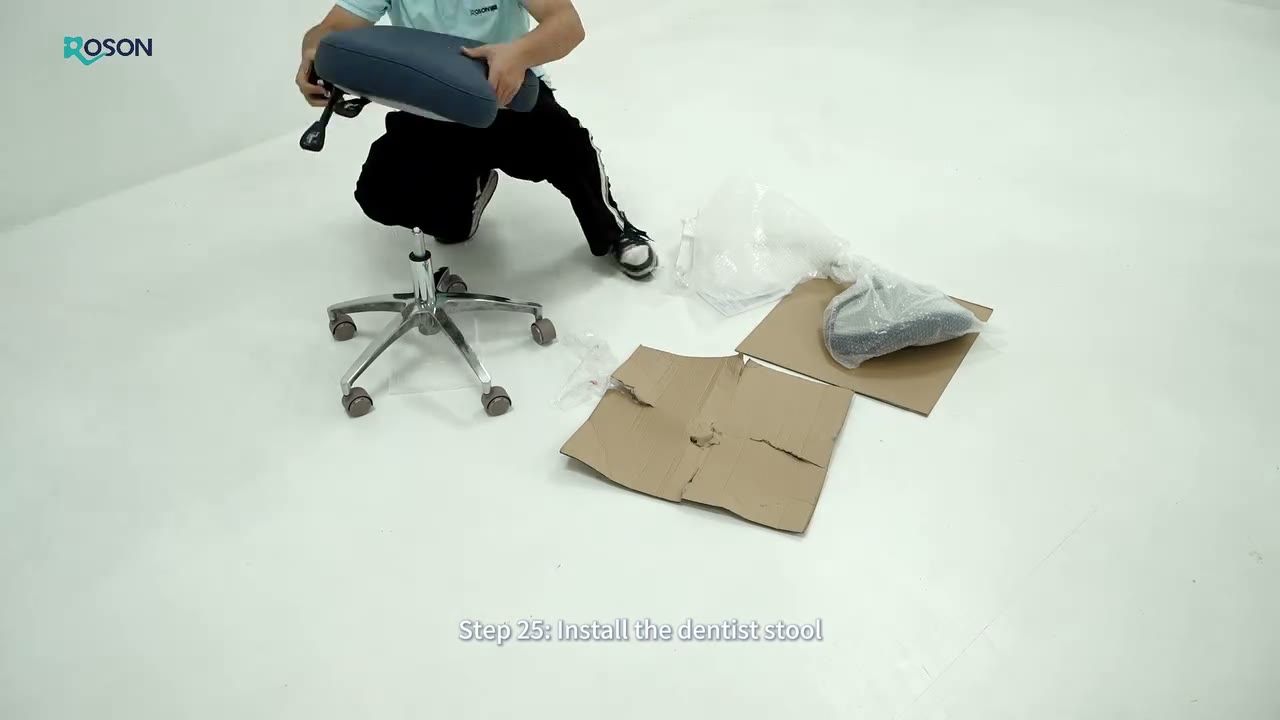
Step 13 — Assemble the Stool and Hand Over
The dentist stool is unboxed and assembled, the operatory is cleaned of every scrap of packaging, and then the most important step of all: your team is trained on the unit before we leave — operation, daily care, and who to call (us, same day).
The Part You Don't See
Behind these steps is everything else we've written about: technicians who trained hands-on with ROSON's own engineers, units whose components are traceable back to their build, and a one-to-two-day service response if anything ever needs attention after install day.
That's white-glove. Not a slogan — a checklist.